


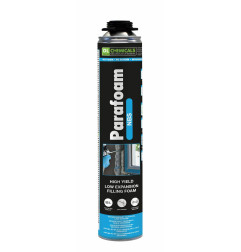
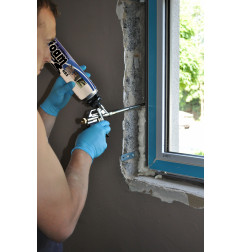
Sprayable PU foam for bonding insulation panels in external wall insulation systems (ETICS) and flat roof insulation. This adhesive PU foam is also suitable for sealing, insulating and filling joints, cracks and holes.
Volume discounts
| Quantity | You Save | Unit price |
|---|---|---|
| 3 | 2 % | $9.36 |
| 6 | 5 % | $9.07 |
| 12 | 12 % | $8.40 |
Sprayable PU foam for bonding insulation panels in external wall insulation systems (ETICS) and flat roof insulation. Also suitable for bonding wall panels in interior applications and bonding aerated concrete bricks for a non-load-bearing interior wall. This adhesive PU foam is also suitable for sealing, insulating and filling joints, cracks and holes.
Applications:
Instructions for use:
Packaging:

Data sheet
 GHS02 - Flammable
 GHS07 - Harmful
 GHS08 - Health hazard
Specific References
| Variante | Packaging | Prix HT | Prix TTC | Prix dès 3 pièces (-2%) (TTC) | Prix dès 6 pièces (-5%) (TTC) | Prix dès 12 pièces (-12%) (TTC) | Réference | EAN-13 | Stock* disponible |
|---|---|---|---|---|---|---|---|---|---|
| Parafoam Panelglue NBS - Sprayable PU foam | 750 ml - NBS | $7.96 | $9.55 | $9.36 | $9.07 | $8.40 | DLC 101129 | 5413624350096 | 11 Pièce(s) |
Sprayable PU foam for bonding insulation panels in external wall insulation systems (ETICS) and flat roof insulation. This adhesive PU foam is also suitable for sealing, insulating and filling joints, cracks and holes.
